


Overview
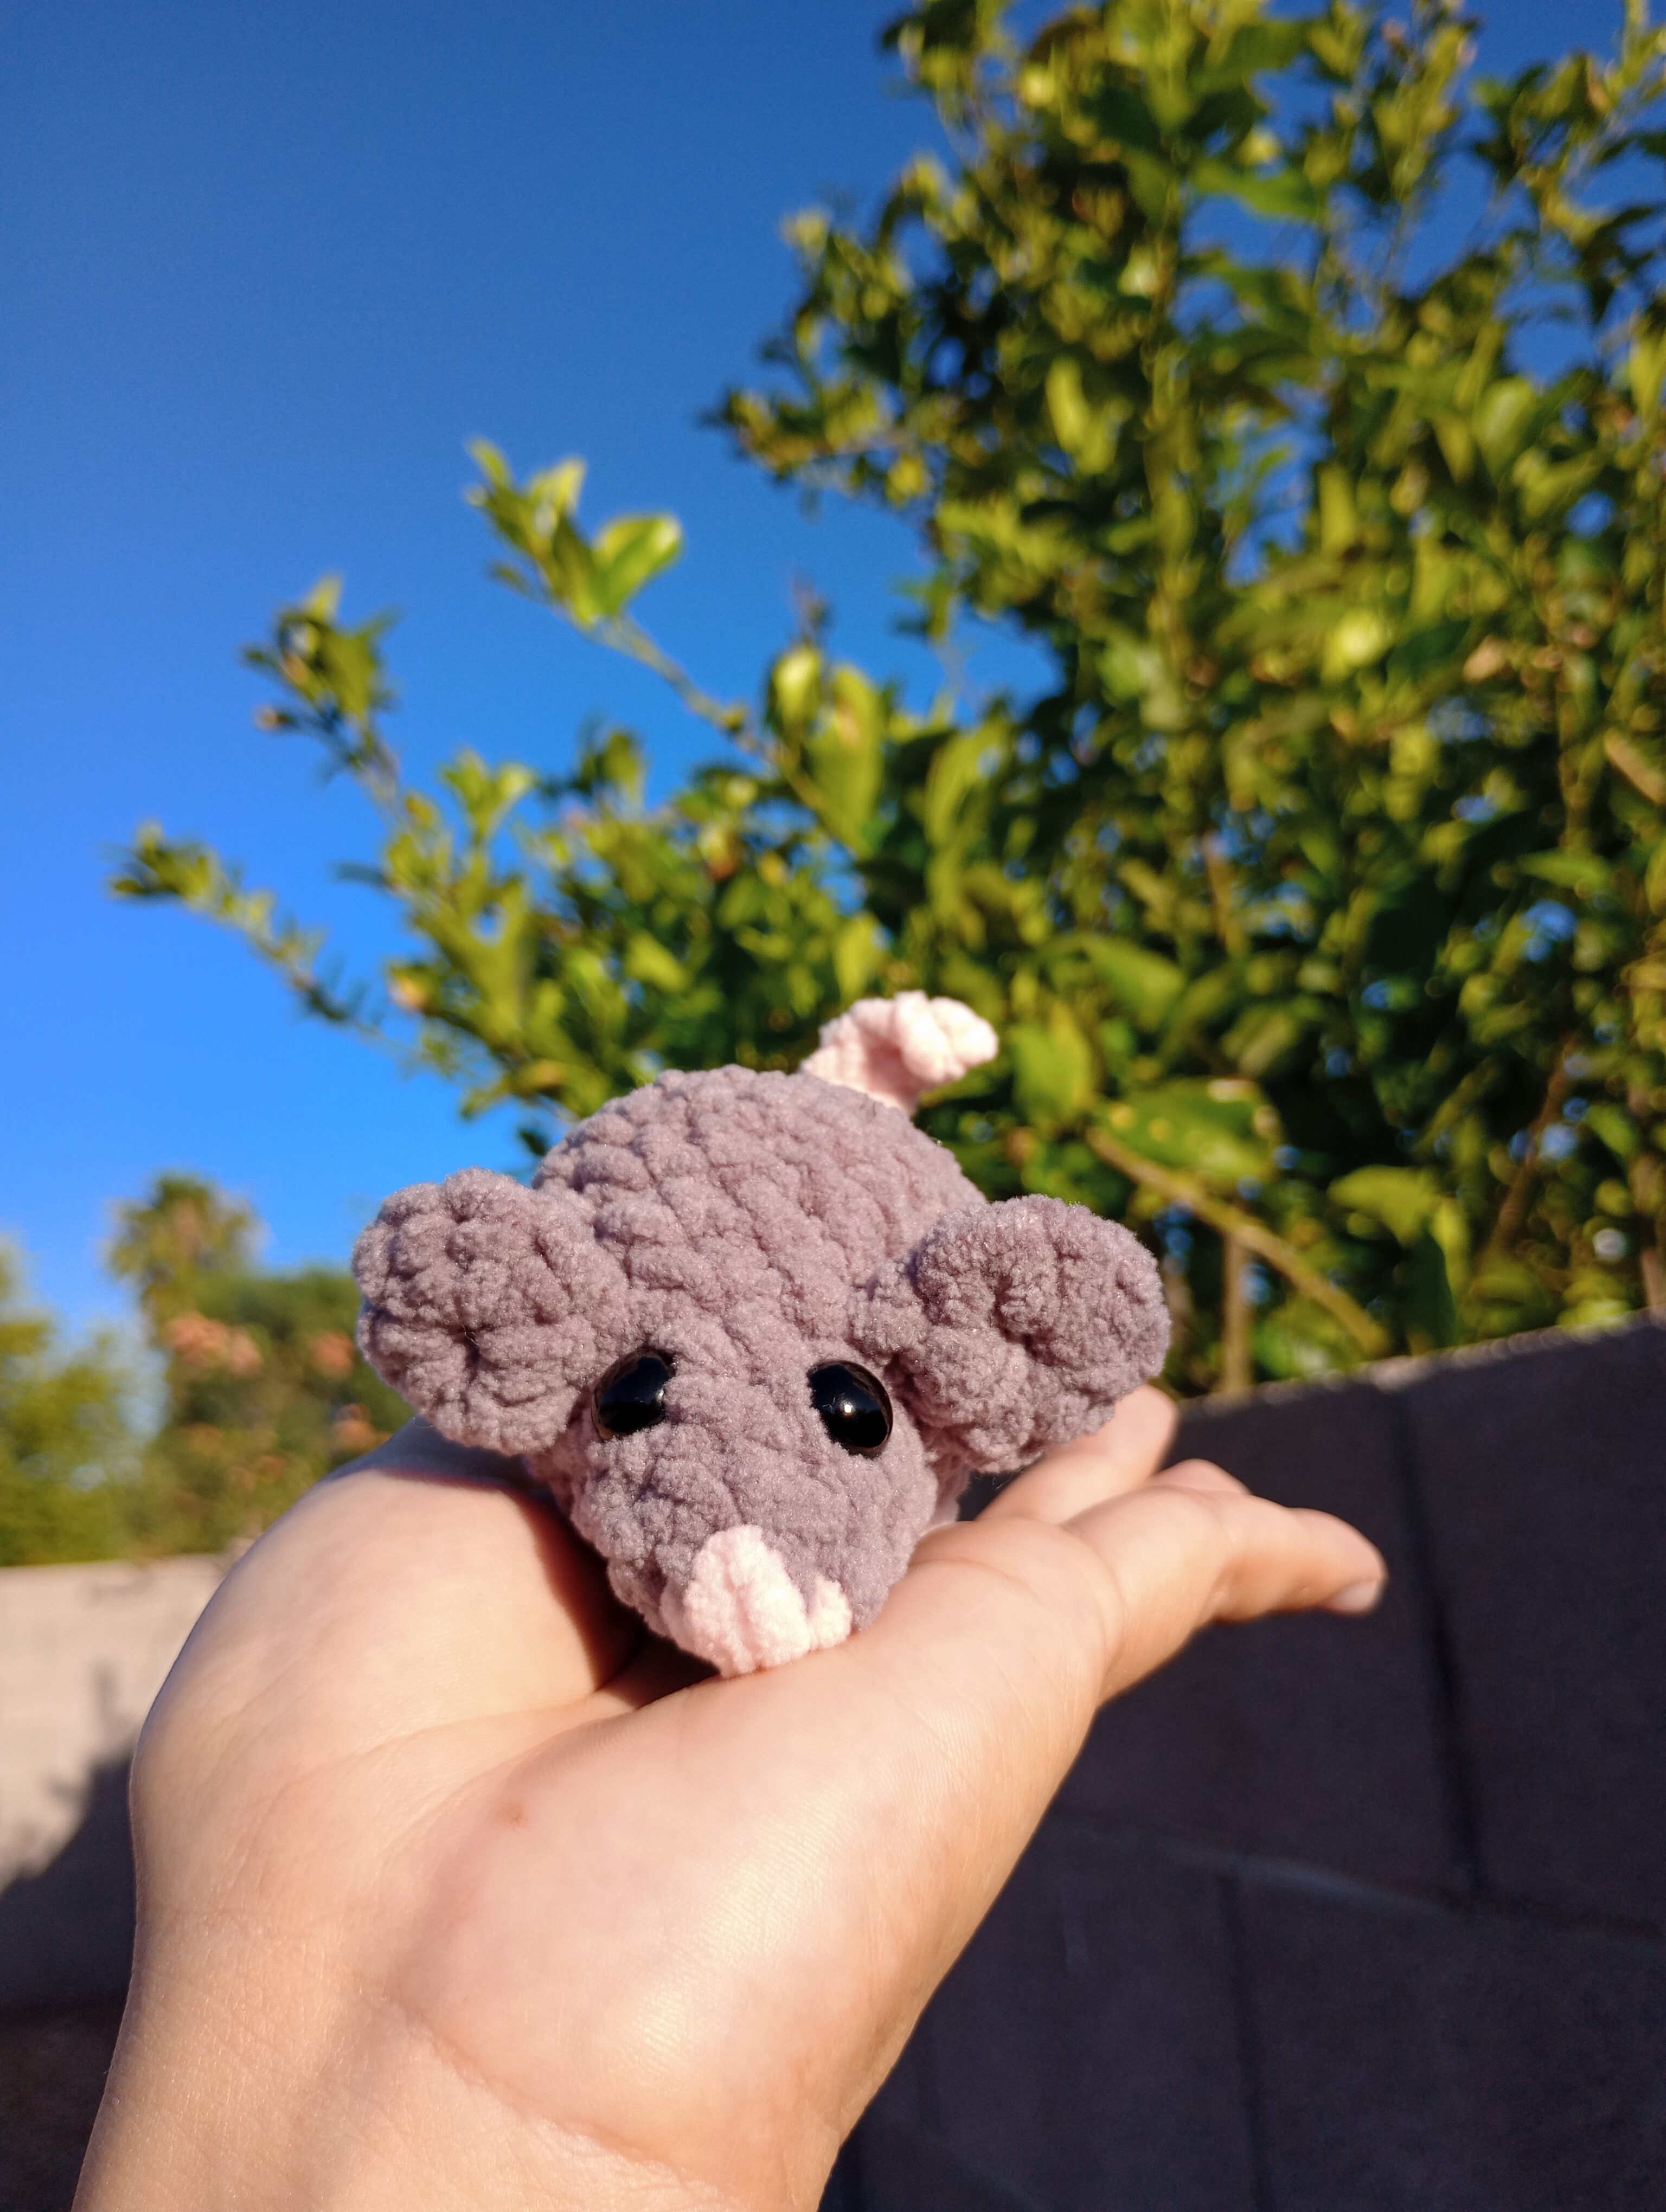
This Mini Mouse pattern if perfect for creating a small and cute decor piece for your house or office. It also makes an adorable gift or fast market make!
Pin it to find it later!

Note
This free pattern includes written instructions with some pictures and will eventually also include ads.
For step-by-step photos, helpful tips, and a printable, beautifully formatted version, you can purchase the PDF pattern on Etsy.

Abbreviations
- R = round
- MR = magic ring
- slst = slip stitch
- sc = single crochet
- ps = 3 half double crochet puff stitch
- inc = increase
- dec = decrease
- ( ) x __ = repeat the steps in the parentheses the number of times after the x
- FO = fasten off
Materials
- Chenille yarn, size 5
- Grey
- Light pink
- 6.0 mm crochet hook
- Yarn needle
- Scissors
- Stitch marker
- 10 mm safety eyes
- Stuffing
Important Note
This pattern uses US terms and continuous rounds.
Pattern Use Guidelines
This pattern is for personal use only. Please do not share, reproduce, or sell the pattern itself. You are welcome to sell items made from this pattern, but please make sure to give me credit for the pattern by tagging me on Instagram or Facebook: @RayfulCreations and/or linking my website rayfulcreations.com.
Instructions
Ears
Start with grey yarn
R1: MR, sc 8
R2: slst back into the first stitch
FO. Repeat steps 1-2 to make a total of 2 ears.
Body
Start with grey yarn
R1: MR, sc 6 (6)
R2: (sc, inc) x 3 (9)
R3: sc 9 (9)
R4: (sc 2, inc) x 3 (12)
R5: (crochet one ear to the body with 2 sc, sc, inc) x 2, sc 3, inc (15)

Place eyes between R3-4, 2-3 stitches apart.

During R6 and R9, we will add feet. Due to tension differences,you may need to adjust stitches.
R6:
- (inc, sc 4) x 2
- (change to pink, ps, change to grey, sc) x 2
- inc (18)
R7: (sc 5, inc) x 3 (21)
R8: (sc 6, inc) x 3 (24)
R9:
- (sc 3, dec) x 3
- change to pink, ps, change to grey, sc 2, dec
- change to pink, ps, change to grey, sc, dec (19)

R10: (sc, dec) x 6, sc (13)
Add stuffing.
R11: dec x 6, sc (7)
Finish stuffing. Cut the yarn, leaving a long tail.
Insert this yarn tail through the front loops of R11. Pull tight to close.
Weave in any loose ends.
Nose
Use pink yarn to embroider a nose between R1-2.

Tail
Insert hook between R10-11, right above the back legs.
Chain 9, slst 8 back down the chain. slst back into body.
FO. Weave in any loose ends.

Finished!
Thank you for using my pattern! I hope you enjoyed making a mini mouse.
I would love to see your work and hear your feedback! Leave a comment below or tag me on Instagram or Facebook: @RayfulCreations
Want a PDF of this pattern?
For step-by-step photos, helpful tips, and a printable, beautifully formatted version, you can purchase the PDF pattern on Etsy.

Thank you to my testers for helping bring this pattern to life!


Leave a Reply