

Overview
This 4 in 1 post includes instructions for crocheting an avocado, corn, watermelon slice, and citrus slice. This is a quick make that is perfect for markets, beginner friendly and low sew.
The pattern was tested by 8 crochet artists to ensure clarity and ease of use before publishing.
Pin it to find it later!

Note
This free pattern includes written instructions with some pictures and will eventually also include ads.
For step-by-step photos, helpful tips, and a printable, beautifully formatted version, you can purchase the PDF pattern.

Abbreviations
- R = round
- MR = magic ring
- slst = slip stitch
- ch = chain
- sc = single crochet
- inc = increase
- dec = decrease
- sc2tog = sc two together
- Video that explains how to do it: https://www.youtube.com/shorts/G6f2X6g4pKQ
- hdc = half double crochet
- hdc-inc = two hdc in the same stitch
- BLO = back loop only
- FLO = front loop only
- sk = skip
- ( ) x __ = repeat the steps in the parentheses the number of times indicated after the x
- FO = fasten off
Materials
- Chenille yarn
- Yellow
- Green (in 2 different shades)
- Brown
- Red
- White
- Yellow
- Orange
- Pink
- Black
- 6.0 mm crochet hook
- Yarn needle
- Scissors
- Stitch marker
- 10 mm safety eyes
- Polyfil stuffing
Important Note
This pattern uses US terms and continuous rounds except where noted.
Pattern Use Guidelines
This pattern is for personal use only. Please do not share, reproduce, or sell the pattern itself. You are welcome to sell items made from this pattern, but please make sure to give me credit for the pattern by tagging me on Instagram or Facebook: @RayfulCreations and/or linking my website rayfulcreations.com.
Instructions
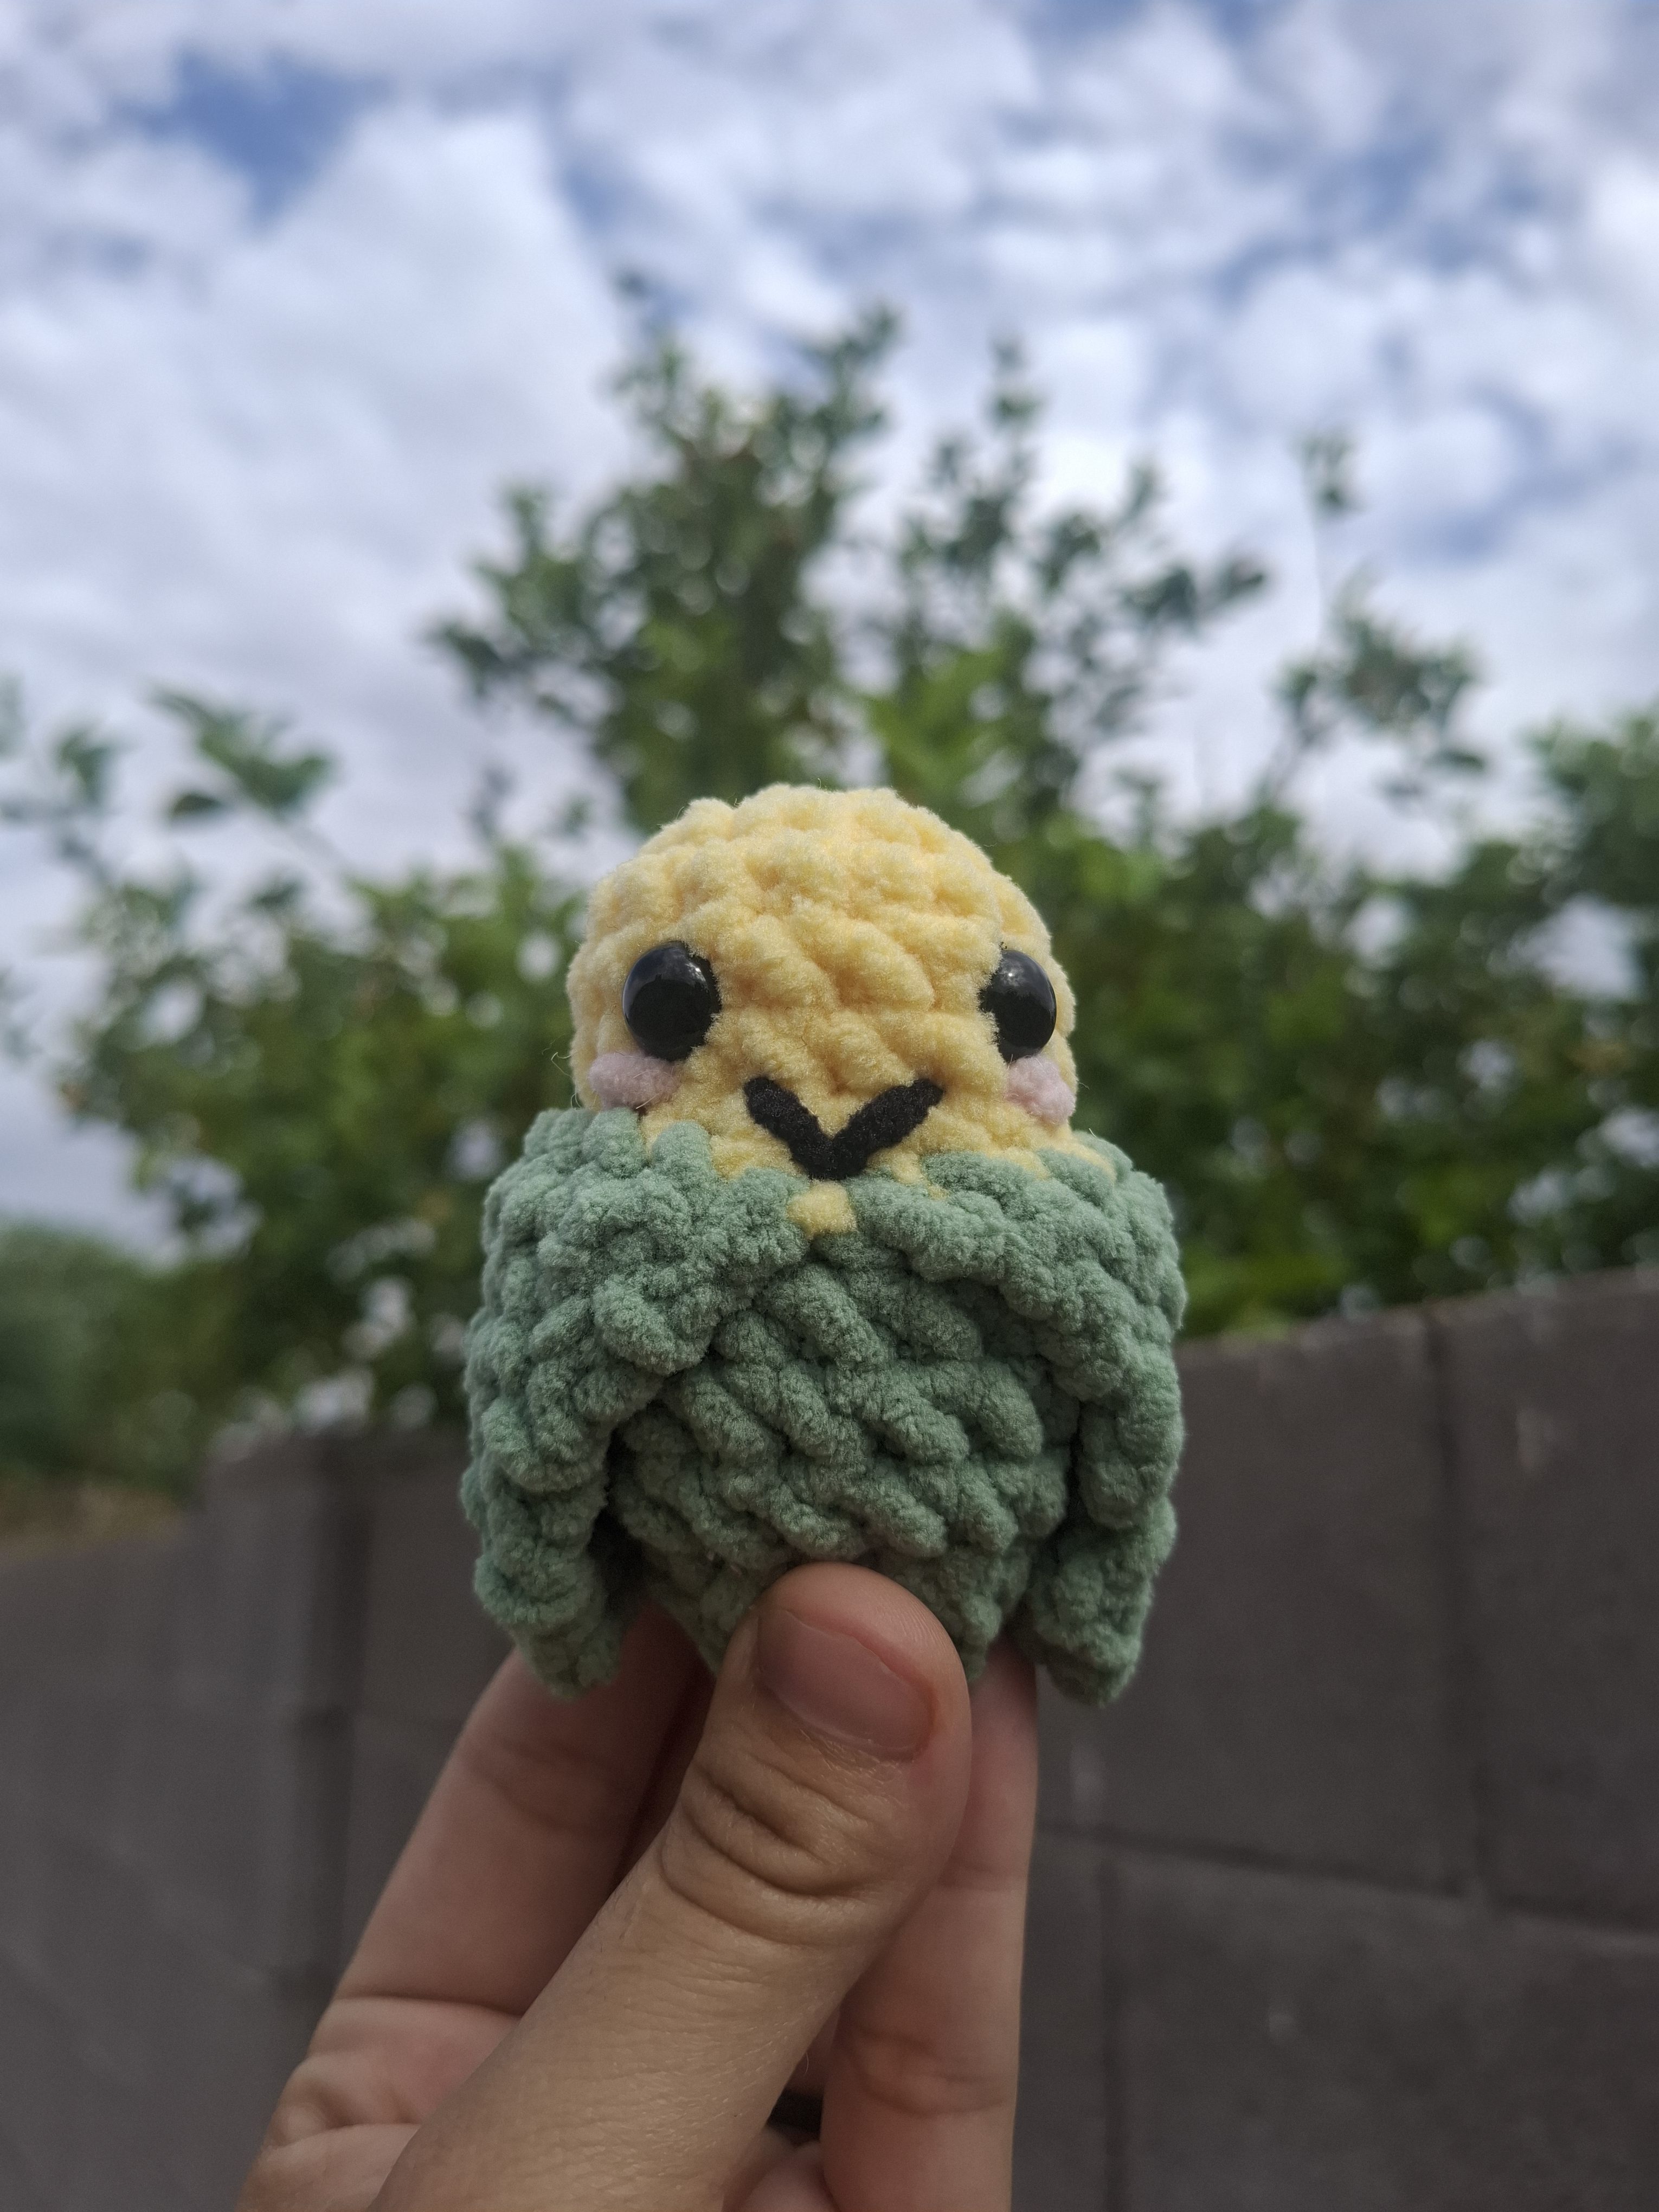
Corn
Body
Start with yellow yarn:
R1: MR, sc 8
R2: inc 8 (16)
R3-6: sc 16 (4 rounds)
Place eyes between R4-5, 3 stitches apart.
Change to green yarn:
R7 (BLO): place a stitch marker on the front loop of the
first stitch, sc 16 (16)
R8-10: sc 16 (3 rounds)
Add stuffing and continue stuffing as you go.
R11: dec 8 (8)
R12: (sc 2, dec) x 2 (6)
Finish stuffing.
FO and close the opening. Weave in any loose ends.
Leaves
Using green yarn:
Insert hook in the front loop of R7, the center one between both eyes.

R1: sc 8 across FLO, ch 1, turn
R2: sc2tog, sc 4, sc2tog, ch 1, turn
R3: sc2tog, sc 4, ch 1, turn
R4: sc2tog, sc 3, ch 1, turn
R5: sc2tog, sc 2, ch 1, turn
R6: sc2tog, sc, ch 1 turn
R7: sc2tog
FO and weave in any loose ends.
Insert the hook in the same stitch as the last stitch of the first leaf’s R1.

Repeat R1-7. FO and weave in any loose ends.
Use black yarn to embroider a mouth between both eyes.
Avocado
Start with brown yarn
R1: MR, sc 8
R2: sc 8 (8)
Change to light green
R3 (BLO): inc 3, hdc-inc 2, inc 3 (16)
R4: (sc, inc) x 3, sc, hdc-inc 2, sc, (sc, inc) x 3 (24)
R5: (inc, sc 2) x 3, sc 2, hdc-inc 2, sc 2, (sc 2, inc) x 3 (32)
Places eyes between R4-5 on the side of the hdc stitches.
Place eyes 2-3 stitches apart.
Change to darker green
R6 (BLO): sc 32
R7: sc 14, dec 2, sc 14 (30)
R8: (sc 3, dec) x 6 (24)
R9: (sc, dec) x 8 (16)
Add stuffing
R10: dec 8 (8)
FO, finish stuffing, and close opening.
Use black yarn to embroider a mouth between the eyes and use pink yarn to embroider cheeks under the eyes.

Watermelon
Body
Start with red yarn:
R1: MR, sc 8 (8)
R2: inc x 8 (16)
R3: (sc, inc) x 8 (24)
R4: sc, inc, (sc 2, inc) x 7, sc (32)
Change to white yarn:
R5: (sc 3, inc) x 8 (40)
Change to green yarn:
From this point onward, you will only be working across half of the watermelon (20 stitches). After each row, you will turn, but do not make a chain. When making an slst, make sure not to make it too tight.
R6 (BLO): slst, sc 18, slst, turn
R7: sk 1, slst, sc 16, sk 1, slst, turn
R8: sk 1, slst, sc 14, sk 1, slst, turn
R9: sk 1, slst, sc 12, sk 1, slst
Cut the yarn, leaving a long tail for sewing. Fasten off.

Putting it together
- Fold the watermelon in half, so that R9 touches the white only portion of R5.
- Using the yarn tail left from the watermelon, sew R9 to R5 BLO.

- Once you’re about one third of the way done sewing, place eyes between R2-3, 3 stitches apart.
- Start stuffing and continue sewing and stuffing as you go.
- Fasten off and weave in any loose ends.
- Using black yarn, embroider a mouth and seeds.
Citrus
Follow this pattern to make a variety of citrus fruit. Just change colors as suggested below:
Lemon
Citrus & peel color = yellow
Lime
Citrus & peel color = green
Orange
Citrus & peel color = orange
Grapefruit
Citrus color = red or pink
Peel color = orange
For the fruits with the same citrus and peel color, you may choose to use different shades of the color if you’d like.
Body
Start with citrus color:
R1: MR, sc 8 (8)
R2: inc x 8 (16)
R3: (sc, inc) x 8 (24)
R4: sc, inc, (sc 2, inc) x 7, sc (32)
Change to white yarn:
R5: (sc 3, inc) x 8 (40)
Change to peel color:
From this point onward, you will only be working across half of the citrus (20 stitches). After each row, you will turn, but do not make a chain. When making an slst, make sure not to make it too tight.
R6 (BLO): slst, sc 18, slst, turn
R7: sk 1, slst, sc 16, sk 1, slst, turn
R8: sk 1, slst, sc 14, sk 1, slst, turn
R9: sk 1, slst, sc 12, sk 1, slst
Cut the yarn, leaving a long tail for sewing. Fasten off.

Putting it together
- Fold the citrus in half, so that R9 touches the white only portion of R5.
- Using the yarn tail left from the citrus, sew R9 to R5 BLO.
- Once you’re about one third of the way done sewing, place eyes between R2-3, 3 stitches apart.
- Start stuffing and continue sewing, stuffing as you go.
- Fasten off and weave in any loose ends.
- Using black yarn, embroider a mouth.
- Using white yarn, embroider white lines on the top and back of the citrus.


Finished!
Thank you for using my pattern! I hope you enjoyed making Mini Fruit & Veggie Pals.
I would love to see your work and hear your feedback! Leave a comment below or tag me on Instagram or Facebook: @RayfulCreations
Want a PDF of this pattern?
For step-by-step photos, helpful tips, and a printable, beautifully formatted version, you can purchase the PDF pattern.
Thank you to my testers for helping bring this pattern to life!


Leave a Reply